Table of Contents
The Ultimate Guide to the Hobo Pie Maker: Campfire Cooking at Its Best
Introduction
There’s something magical about cooking over an open fire, and the hobo pie maker is one of the best tools to make delicious, easy meals while camping. Whether you’re a seasoned outdoor enthusiast or a beginner looking to elevate your campfire cooking, this guide will cover everything you need to know about hobo pie makers—from what they are to delicious recipes you can try.
What Is a Hobo Pie Maker?
A hobo pie maker, also known as a pie iron or campfire sandwich maker, is a cast-iron or aluminum cooking tool designed to make toasted sandwiches, pies, and other tasty treats over a campfire. It consists of two hinged plates with long handles, allowing you to clamp your ingredients inside and cook them evenly over the flames.

Why Use a Hobo Pies Maker?
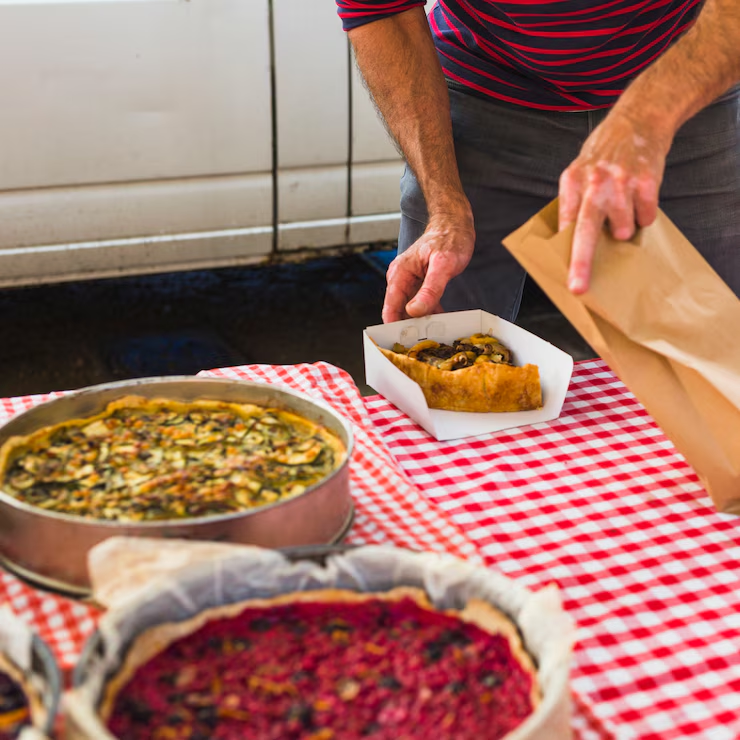
- Versatile – Make sandwiches, desserts, pizzas, and more.
- Easy to Use – No complicated setup; just fill, close, and cook.
- Portable – Lightweight and perfect for camping, hiking, or backyard cookouts.
- Fun for All Ages – Kids and adults alike love making (and eating) hobo pies.
Types of Hobo Pies Makers
Not all pie irons are the same. Here are the most common types:
1. Cast Iron Hobo Pies Makers
- Pros: Retains heat well, durable, creates a crispy crust.
- Cons: Heavier, requires seasoning to prevent rust.
- Best for: Frequent campers who want long-lasting performance.
2. Aluminum Hobo Pie Makers
- Pros: Lightweight, rust-resistant, heats up quickly.
- Cons: Doesn’t retain heat as well as cast iron.
- Best for: Backpackers and casual campers.
3. Non-Stick Coated Pie Irons
- Pros: Easy to clean, prevents sticking.
- Cons: Coating can wear off over time.
- Best for: Beginners or those who prefer hassle-free cleaning.
👉 Recommended Hobo Pie Maker: Check out this Roma Pie Iron (Amazon) for a durable, cast-iron option.
How to Use a Hobo Pie Maker
Using a hobo pie maker is simple, but a few tips will ensure perfect results every time:
Step 1: Prepare Your Fire
- Use hot coals or a medium flame—too much heat can burn your food.
- If using a campfire, let the flames die down to glowing embers.
Step 2: Grease the Pie Iron
- Lightly butter or spray the inside to prevent sticking.
Step 3: Add Your Ingredients
- Place bread slices on both sides.
- Add fillings (cheese, meats, fruits, etc.).
Step 4: Close and Cook
- Secure the latch and hold over the fire.
- Cook for 2-4 minutes per side, checking occasionally.
Step 5: Remove and Enjoy!
- Carefully open the pie iron and slide out your creation.
Delicious Hobo Pie Recipes
Here are some mouthwatering recipes to try with your hobo pie maker:
1. Classic Campfire Grilled Cheese
- Ingredients: Bread, butter, cheddar cheese.
- Variation: Add ham or tomatoes for extra flavor.
2. Pizza Hobo Pie
- Ingredients: Pizza dough or bread, marinara sauce, mozzarella, pepperoni.
3. Apple Cinnamon Dessert Pie
- Ingredients: Bread, canned apple pie filling, cinnamon, sugar.
4. Breakfast Hobo Pie
- Ingredients: Bread, scrambled eggs, bacon, cheese.
For more recipe ideas, visit Camping Recipes by REI.
Cleaning and Maintenance Tips
To keep your hobo pie maker in great condition:
- Let it cool before cleaning.
- Wipe with a paper towel or use a soft brush.
- Avoid soap on cast iron (it removes seasoning).
- Store in a dry place to prevent rust.
Where to Buy a Hobo Pie Maker
You can find hobo pie makers at:
- Amazon: Check Prices Here
- REI: Outdoor Cooking Gear
- Walmart: Affordable Options
Final Thoughts
A hobo pies maker is a must-have for any camping trip. It’s fun, easy to use, and opens up endless meal possibilities. Whether you’re making a quick grilled cheese or a sweet dessert, this simple tool will become a campfire favorite.
Do you have a favorite hobo pie recipe? Share it in the comments below!